Another popular InBook product is MixTile. With this product, you can add warmth and style to your home or workplace. To get the best result, the layout and placement of MixTile photo frames should be planned carefully. In this article, we introduce layout styles and suitable places to use MixTiles.

InBook MixTile Details
InBook MixTiles are produced in two styles: MixTile and MixTile Pro. The only difference is the frame thickness. MixTile Pro has a 2×3 cm frame, while the regular MixTile has a slim half-centimetre front profile, often called frameless.
MixTiles are available in 20×20 cm or 15×15 cm sizes and in white, black, and dark brown. Each MixTile holds one square-cropped photo. All MixTile photos are lab printed and washable. MixTiles do not include glass.

How to Install MixTile Frames
For a clean and even installation, use a template. Cut paper or cardboard to the size of your frames, mark the placement with a pencil and measuring tape, and then install the MixTiles after checking the spacing.

MixTile Layout Styles
Click the edit button to change this text. This placeholder text can be replaced with your own content.
Grid Layout
For people who prefer a neat, organized look, a grid layout is the best choice. In this style, all frames should line up on the same axis and be evenly sized. The spacing between frames should be consistent, usually about 4 to 5 cm. You can use square or rectangular frames in this layout.
Central Layout
This layout does not require all frames to be the same size. Place the largest frame in the centre and arrange the remaining frames around it. The frames do not have to form a perfect circle. This idea works well on narrower walls, such as above a fireplace or console table.
Symmetrical Layout
Three words describe this layout: straight, organized, and clean.
It is usually the first choice for installing frames on a wall. This style works best with symmetrical frames of the same size and is suitable for offices and formal spaces.

Asymmetrical Layout
As the name suggests, this layout does not require strict order. It suits relaxed and personal spaces and creates a warm feeling. All you need is a little creativity. Do not forget to test the layout with paper templates first. This style is especially attractive when the frames are not all the same size.
Three-Piece Layout
One of the most popular layouts, especially for wedding photos, is a three-piece arrangement. Vertical frames are usually installed horizontally next to each other with equal spacing. This layout is commonly used above a bed or sofa.

Mirror Layout
As the name suggests, this layout mirrors itself. Imagine folding a sheet of paper in half and transferring the design from one side to the other. To create a mirror layout, imagine a horizontal or vertical centre line on the wall and install frames on both sides as mirror images.
Crown Layout
This is a unique idea that fewer people know. You need one large frame and several smaller frames. First install the large frame, then arrange the smaller frames evenly above it. The final result looks like a crown.
Box Layout
A box layout, like many other styles, does not require frames to be the same size and gives you more freedom. Imagine a square or rectangle on the wall, or test it with a paper template.
Then place your frames creatively inside that imaginary shape.
Shelf Layout
For a warm and cozy feeling at home or in the office, use a shelf layout. The benefit is that you do not need nails or paper templates. Install a shelf in the size and material you like.
You can also add accessories to make the display more interesting.
Top-Aligned Layout
You may not have heard this name before because it is less common. This layout suits people who want an artistic and different look. Imagine a horizontal line on the wall and align the top edge of every frame along that line with even spacing.
Because the frames do not need to be the same size, the result creates a distinctive visual effect.

Suitable Spaces for Layouts
Hallway Layout
One of the best places to arrange your photo frames is a hallway. Whether your frames are the same size or different sizes, a horizontal arrangement usually works best because long hallway walls are ideal for this type of display. This layout also works for stairways, but remember to raise the installation height gradually as the stairs go up.
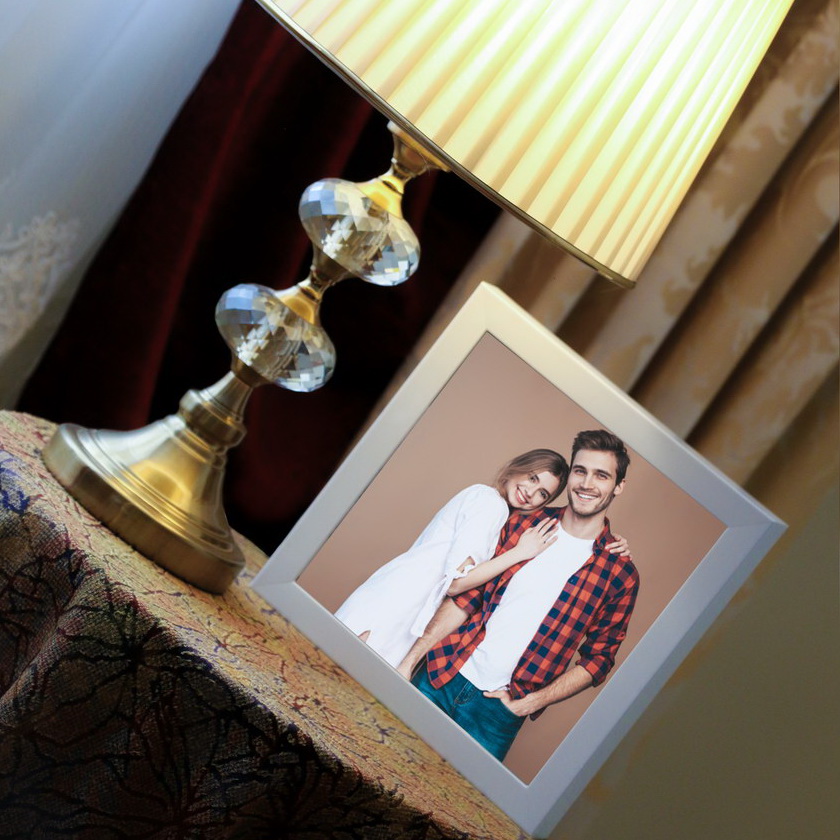
Arranging Frames on a Table
If you do not want to install frames on the wall, arrange them on a memory table. This creates a warm family display. Prepare a small square or round table, add a tablecloth if you like, and then arrange your photo frames in order or by size.
MixTile Wall Layout
For informal, asymmetrical, crown, and shelf layouts, choose spaces such as a child’s room. A shelf layout is especially suitable for this space. The frames are lightweight, so they are safe and can be placed out of reach.
